
Follow up of the media plan
How to proceed to upload and send your advertisement material to the media?
When you receive the material do not forget to save it in a specific folder.
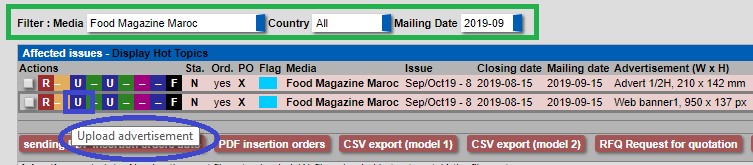
- By scrolling in the drop-down boxes above in green you can filter the media, the country and mailing of your plan media.
- If you click on the first U above in blue you can upload your advertisement.
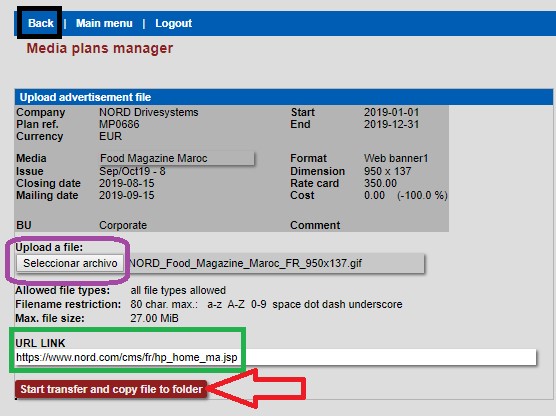
- Now click on select file to upload your material.
- If you are sending an online banner or enewsletter advertorial do not forget to put the landing page link as shown above in green.
- Then click on “Start transfer and copy file to folder” to upload the material in the media plan line. To go back to your media plan, click on back above in black.
Now your material is uploaded but not sent and this why the status is W below in Yellow. If you click on the D in green you can download the material. If you click on S in purple you send the material to the technical contact.

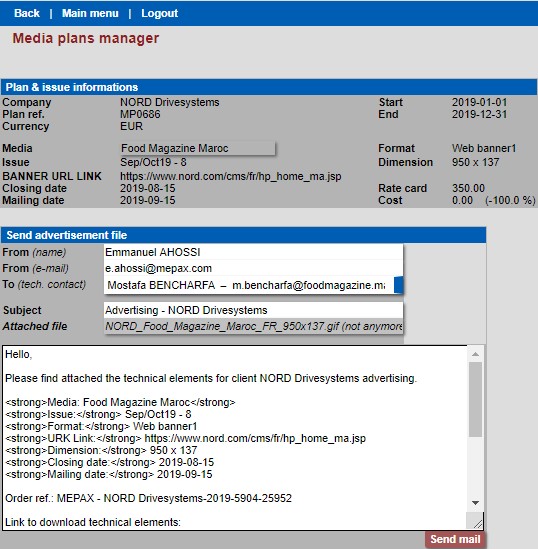
At this point below you can check or choose another technical contact if it is created. You can review and customized your email if needed. Then click on send mail below in red.
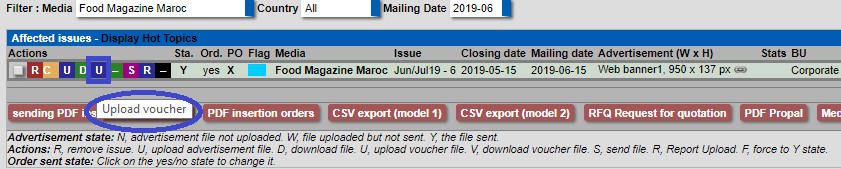
As you can see the status has now changed from W to Y and your line is green below.

How to proceed to upload the voucher to the media plan?
To upload your voucher, click on the blue U as shown below.
- Now click on select file to upload your voucher below in purple.
- Then click on “Start transfer and copy file to folder” to upload the voucher in the media plan line below in red.
- To go back to your media plan, click on back below in black.

Now your client receives an alert email telling them that a new voucher is uploaded in the system. You can download the voucher by clicking on the V below in green.
